Limited stock. An alternative may be supplied.

When we recently released the new counter sets for Imperial Skies, I mentioned that I’d post about a simple method for colouring in the etched markings on those and the turn rulers. This technique was passed on to me by James at Beadspoke Designs, who do the acrylic cutting for us – I take no credit for it.

What I’ll do is take you through the marking of a turn ruler step-by-step. You’ll need the following items: your turn ruler, a POSCA acrylic paint pen (or similar) and (wait for it) a wooden clothes peg. POSCA pens can be bought in the UK in hobbycraft and other art shops, although mine came from eBay (I bought several sizes as I wasn’t sure what I would need). They aren’t expensive – I bought four for a tenner or so. You can choose your colour – I went for white on an orange set of rulers, but yellow would work just as well. Make sure you have a work surface that doesn’t matter if you get some paint on it – the pens can spatter splightly.

Peel off the backing sheet from the turn ruler (if it’s still on there) and then make sure it has no traces of finger grease or other contaminants. I gave it a quick clean with a kitchen wet-wipe, then dried it on kitchen roll.

Once it’s dry, give the pen a thorough shake, then test it on some scrap paper or card to make sure the paint is flowing. Then carefully ink in the ruler ID letter, the numbers and the lines that mark each point of movement. The lines may take a bit more effort to fill in as they’re etched a bit deeper. You should find that the paint adheres well to the rougher surface of the etched areas. You don’t need to be super-neat, but ensure that the etched areas are fully covered in paint, even if you go over the edges a bit – we’ll tidy this up later.

Now leave this for a few minutes until the paint is touch dry. In the meantime, dismantle your clothes peg – a quick twist will separate the two halves, and the spring can go in the recycling.

Once the paint is dry, we get on to the clever bit. Using the end of one half of the clothes peg, carefully rub away any paint that has gone over the edges of the etched areas. The soft wood won’t mark the shiny surface of the plastic but will remove any overspill, and the paint should stay in the recessed areas. If you get this right, you should be left with a neat set of etched markings on your turn ruler. If it isn’t quite perfect, just repaint and repeat.

It’s not a long process – I did a full set of five turn rulers in an hour, which included taking the photos and writing this up !

We have added another seven different colour dice towers to our dice tower page; they are transparent yellow, opaque ivory, white, yellow, gold, purple and transparent bronze. The one shown here is the transparent bronze one.

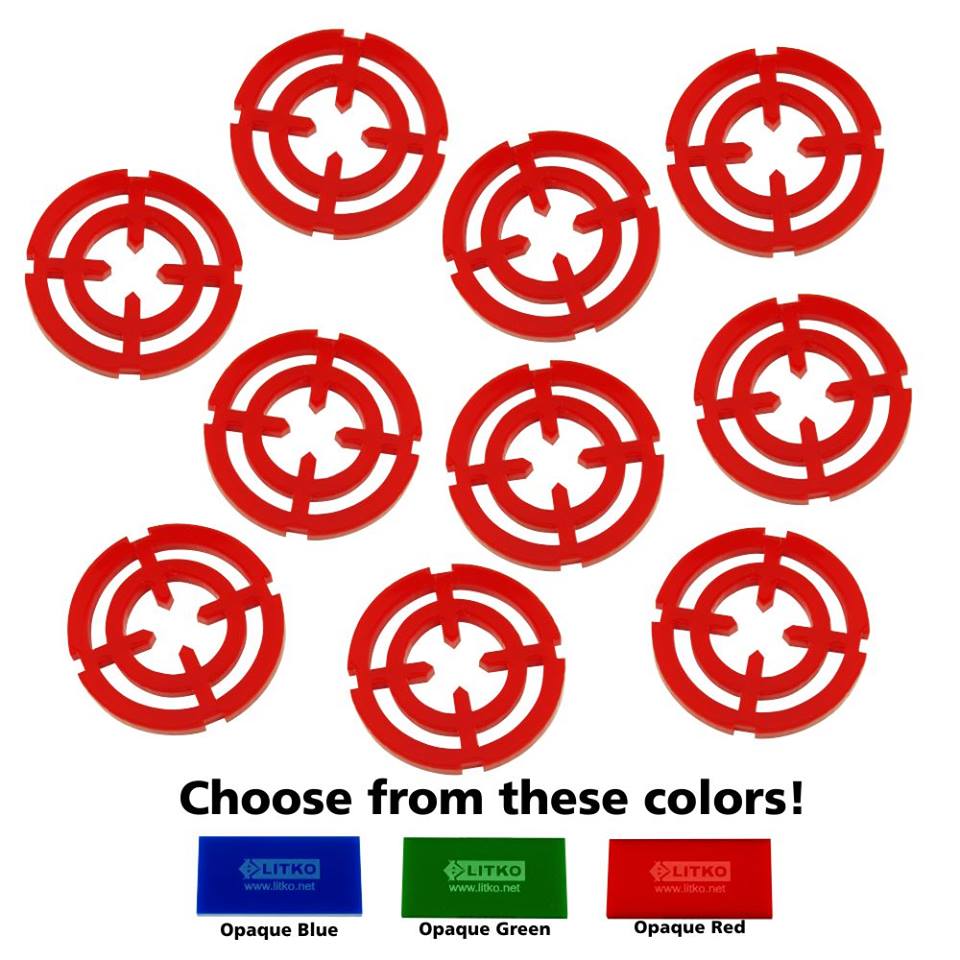
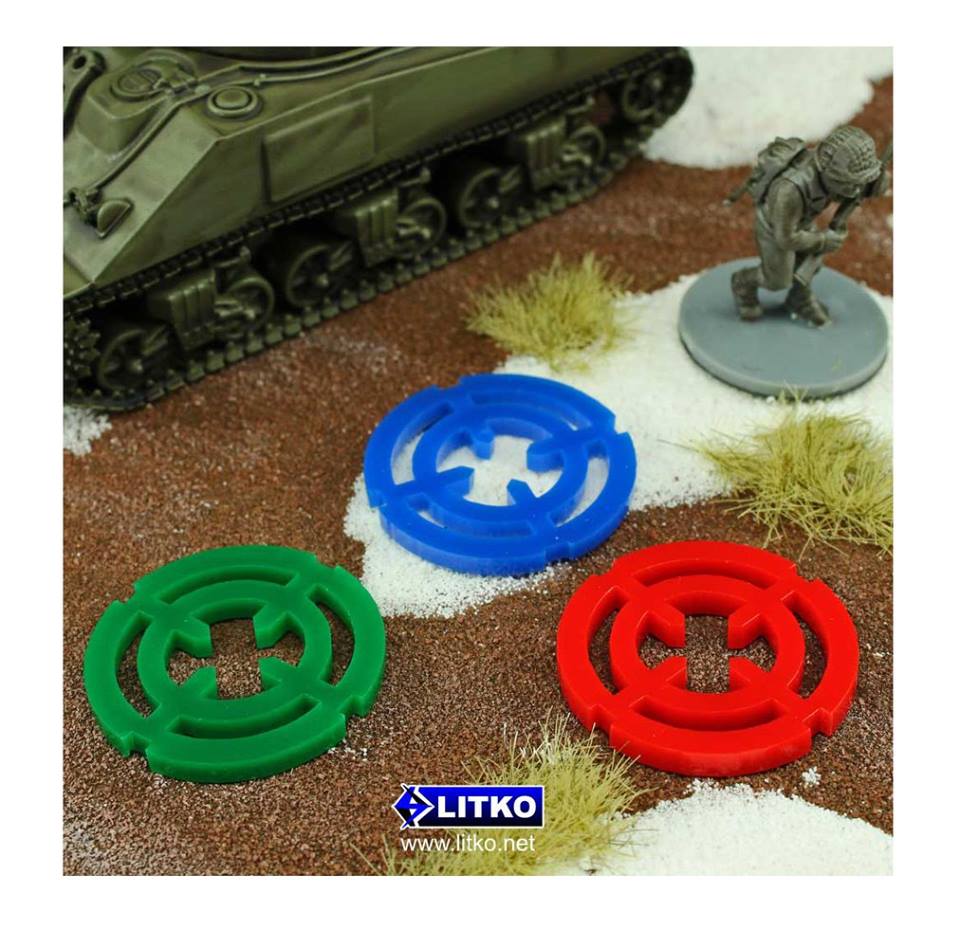
Accessorise your game with our selection of gaming aids.
Wound Dials
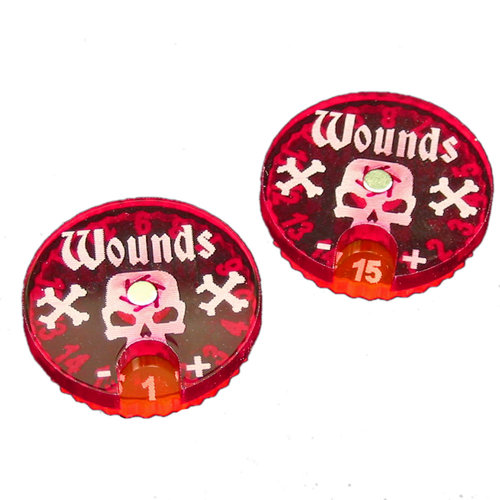
These dials are supplied un-assembled. We recommend using a steel ruler or butter knife to place magnets into the dial halves. Be aware of the magnet polarities to make sure they are aligned before pressing into each half. Insert the magnets with the etching side facing upward.
Buff Debuff Scroll Tokens
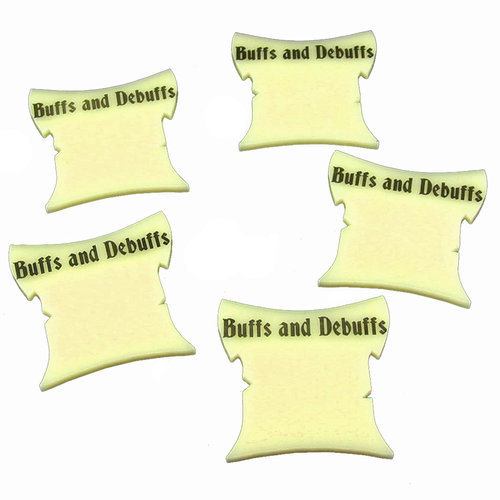
40mm square scroll tokens you can use with write erase markers. Now you can track modifiers on the fly, and quickly change them as needed during the game.
Tokens are supplied with uncoloured etching, to colour, simply use a write erase marker and go over the etching, wipe off and the etching will stay coloured!
Player Token Set
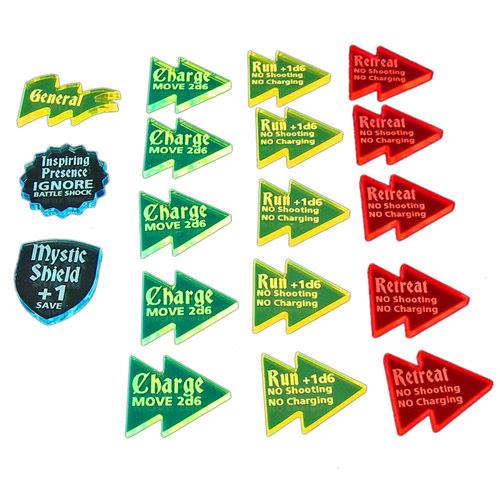
This token set covers all the basic actions in the game. Keep track at a glance with effects and movement restrictions.
See the site for many more useful items!